-
I use Umami for website analytics (installed via Cloudron). It's very easy to use, includes everything I need, and is free. The biggest limitation was that I couldn't set up automated summary emails, so I found that the only time I used it was when something went viral.
-
I also love Metabase - and used to use their Google Analytics integration until they expired it this year.
-
I had a hunch that if I could somehow connect the postgres database that Umami used to store its traffic data, to Metabase, I could build nice reports and use their Subscriptions feature to send myself an email each week.
-
Connecting to the Umami database
-
Because I use Cloudron to host Umami, I followed their guide on how to connect to their Postgres. In summary:
-
To get your connection credentials, open the Cloudron web terminal and type env | grep CLOUDRON_POSTGRESQL
-
Open Metabase and add a new table. Use the credentials from the first step. For host use 172.18.30.2
-
Enable the "Use an SSH tunnel" toggle. For host, use the ip address of the server that Cloudron is hosted on. Assuming we're on the normal VM setup, use root as the username and set the authentication depending on how we generally access that server (e.g. password or ssh key)
-
-
Telling Metabase about the Data model
-
For the queries I wanted to run, having Metabase know that the "Website Event" table is connected to the "Website" table made constructing the reports easier. To do that, go to "Settings -> Admin Settings -> Table Metadata", select the Database in the Dropdown, select the "Website Event" table in the left menu, find the website_id property and update it.
-
-
-
Building A Report
-
Now that the data is connected, there are lots of reports that can be built. For my first one, I built a simple chart of visitors in the past week.
-
Creating a dashboard
-
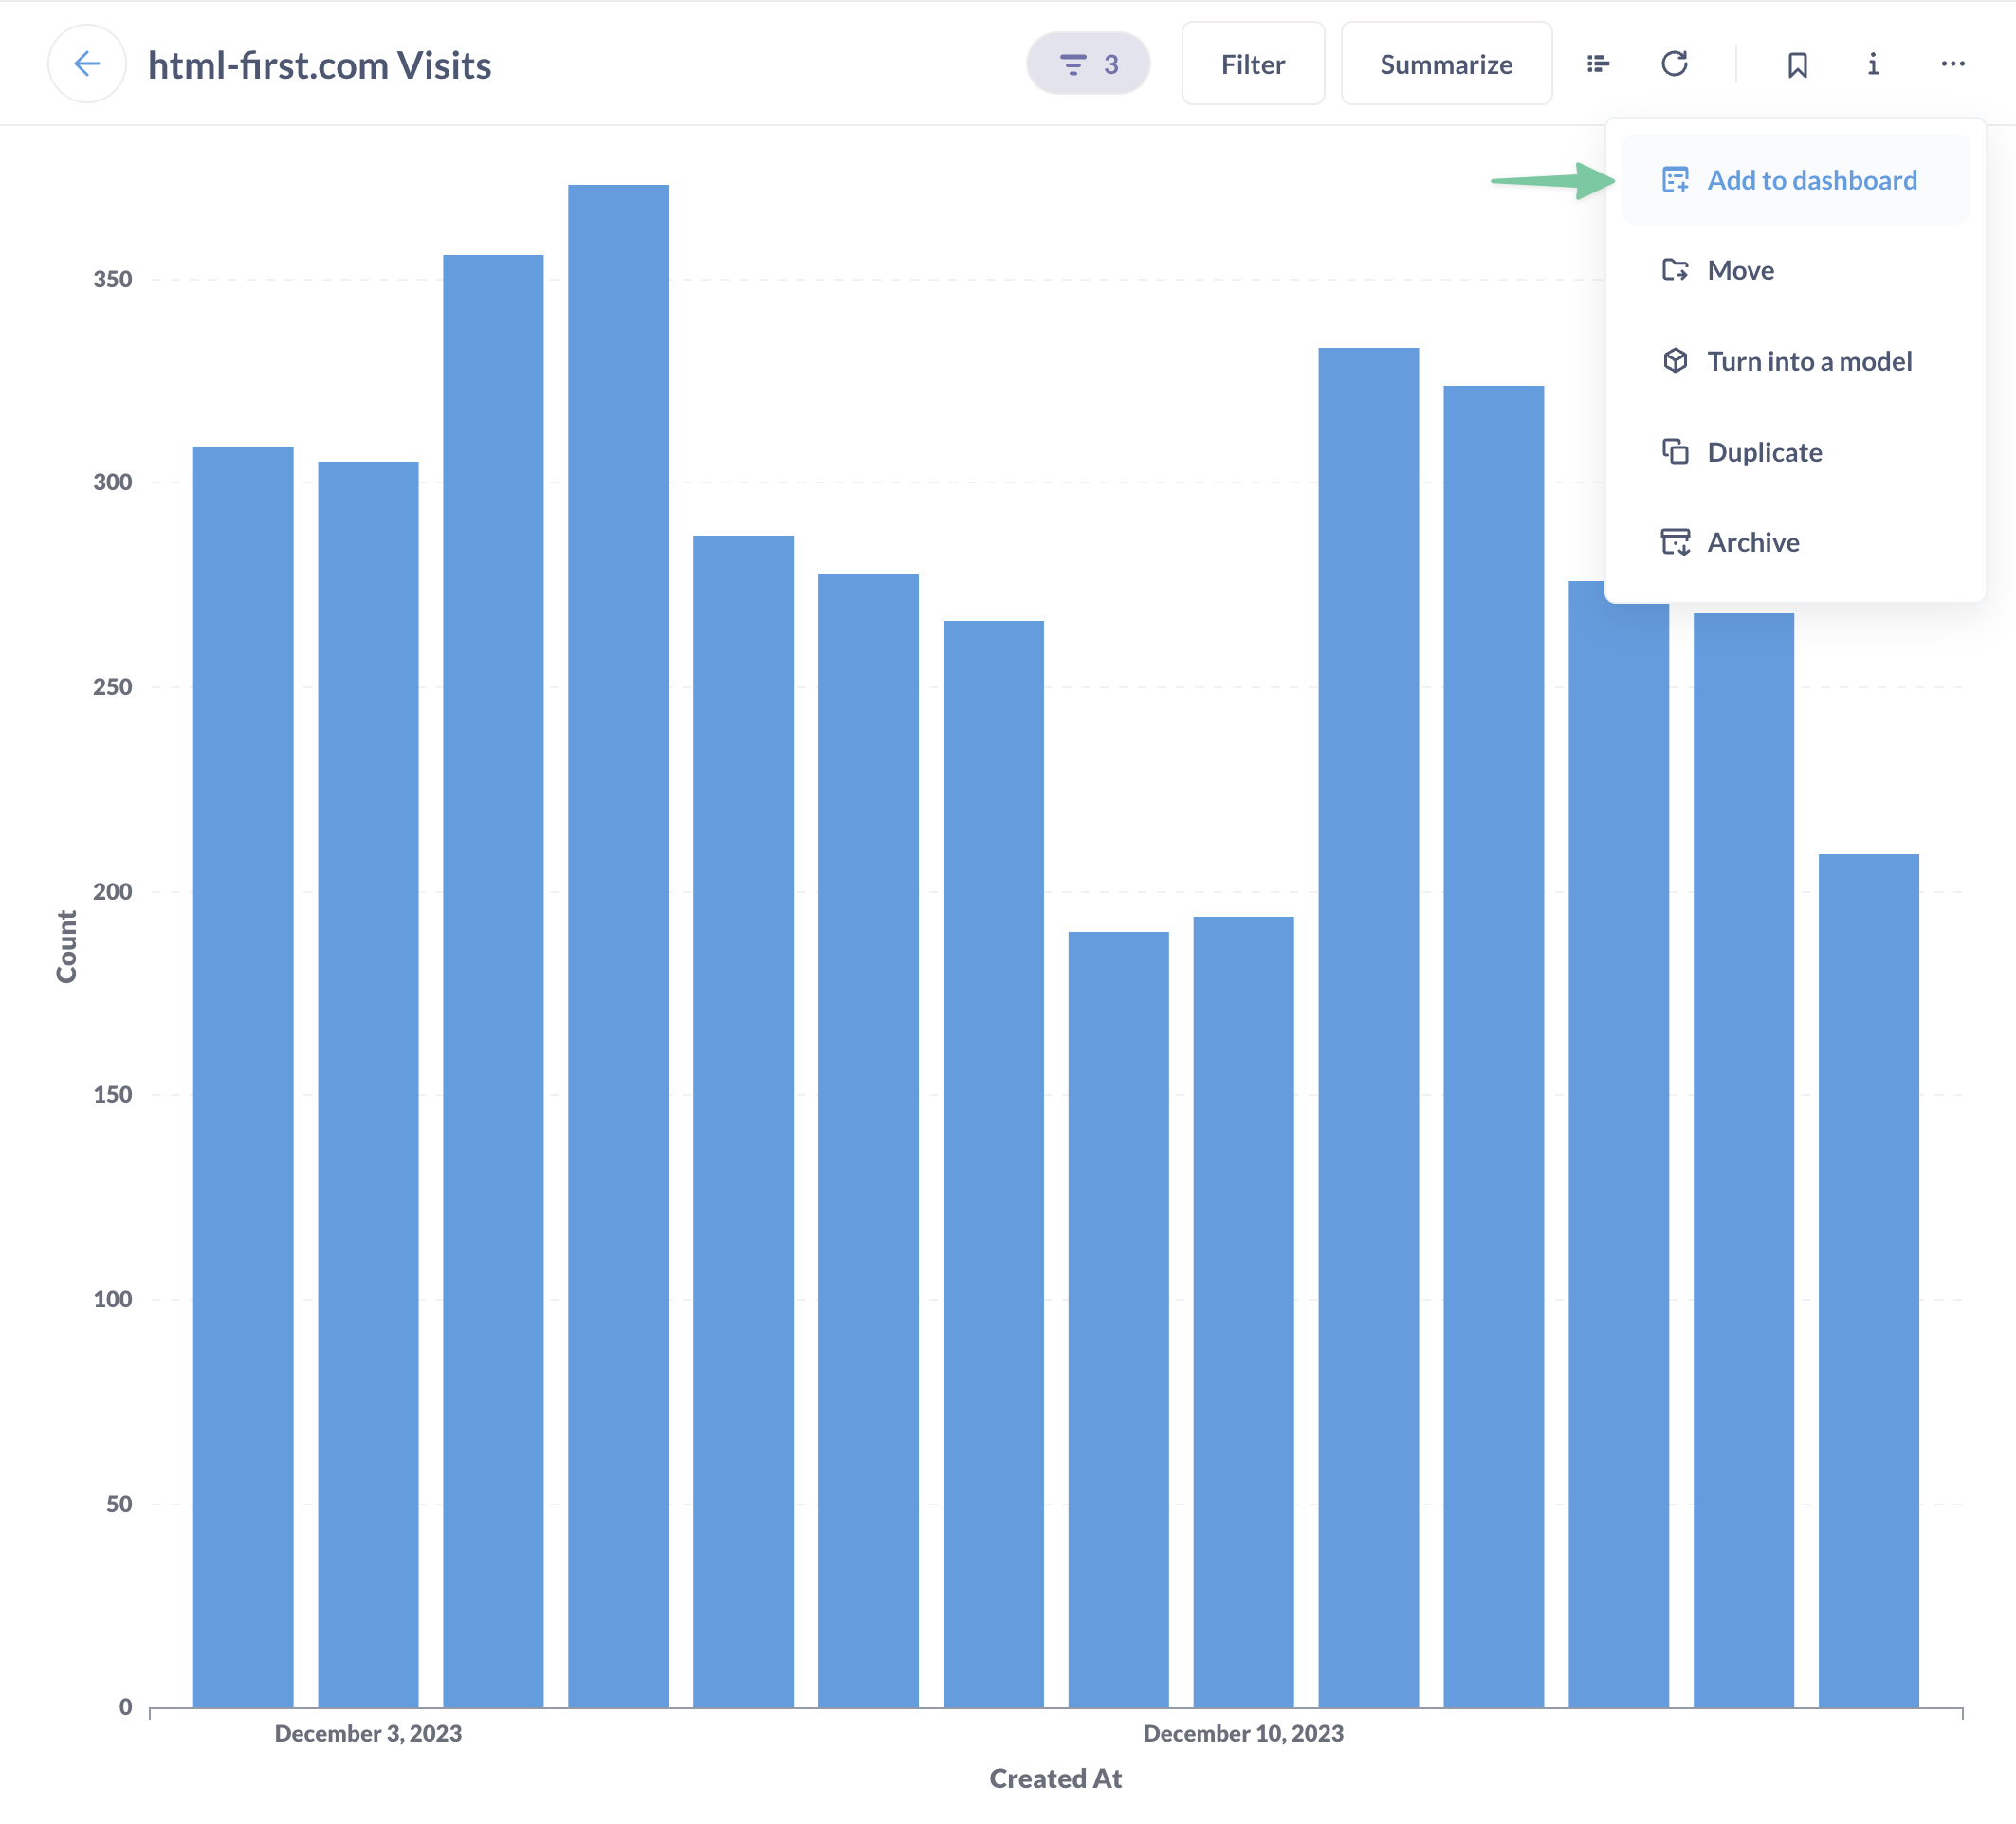
Dashboards are Metabase's way of grouping reports and charts. To add the question you just created to one, click on the ellipsis and hit "Add to dashboard"
-
-
-
Setting up scheduled emails
-
Once the dashboard is created, open it up and click the subscriptions icon. Add your settings and hit done.
-
-
-
What it looks like
-
Once everything is set up, I now have easy-to-digest scheduled emails with an overview of how my sites are doing.
-
-
-
Building website traffic reports with raw postgres data using Umami & Metabase